Jackery Explorer 1000 Plus vs 1000 v2: What to Check Before Buying in Singapore
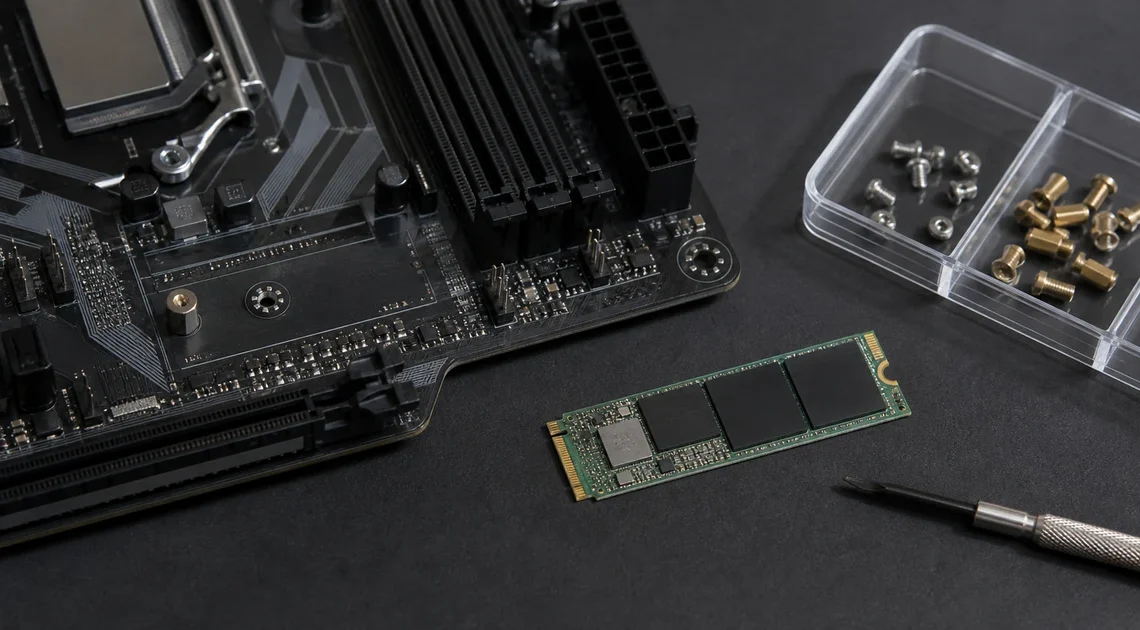
M.2 SSD Screw Size: Why 2280 Does Not Tell You the Right Screw

About the Author
Sesera editorial account organises laptop, AI, and gadget guides for readers in Singapore.
If you are looking for an M.2 SSD screw, the label 2280 is not enough to choose one. M.2 2280 describes the SSD’s size: 22 mm wide and 80 mm long. It does not tell you the retaining screw’s diameter, thread pitch, length, standoff height, or whether your device uses a screw at all.
The safe way to solve a missing screw is to identify the exact device, check its manual, and inspect the mounting hardware before buying anything. A desktop motherboard, laptop, and PS5 can all use different fastening arrangements for an M.2 drive.
Some supported motherboards use a latch or clip instead of a conventional screw. If your device has one, you may not need a replacement screw at all.
What M.2 2280 actually tells you
The four digits in 2280 refer to the module’s dimensions. The first two digits indicate a width of 22 mm, and the last two indicate a length of 80 mm. This is a physical size label for the SSD, not a screw specification. Kingston’s M.2 dimensions FAQ explains the same naming system.
That distinction matters because two devices can accept an M.2 2280 drive while using different mounting parts. One may have a direct retaining screw. Another may use a screw with a thermal bracket. A third may have a tool-free latch.
Do not treat “M.2 screw”, “M2 screw”, and “2280 screw” as interchangeable terms. The names look similar, but they describe different things. A screw marked M2 or M3 refers to a screw thread size. It does not become correct simply because the SSD is an M.2 2280 model.
How to check a desktop motherboard
Start with the full motherboard model, not only the manufacturer name. The model is usually printed on the board, the box, or the original purchase record. Search the manufacturer’s support page for the user manual and the section covering M.2 installation.
Check these parts before you buy
- Look for a pre-installed standoff at the 2280 mounting position.
- Check whether the top screw is already attached to a heatsink or captive bracket.
- Inspect the motherboard accessories bag for a screw, standoff, or small mounting post.
- Look at the M.2 slot diagram for a latch, clip, or other screwless mechanism.
For example, an ASUS motherboard manual shows the Q-Latch being positioned for the module length and rotated to secure the SSD. ASUS also describes Q-Latch as a screwless design on supported boards. This is a board feature, not a universal ASUS rule.
MSI has a similar option called EZ M.2 Clip on some models. The manual shows the clip being set for the SSD length and rotated into place. If your board has this mechanism, forcing a screw into the mounting area is the wrong approach.
How to check a laptop
Laptop mounting hardware is often more model-specific than desktop hardware. The drive may sit under a thermal plate, a small bracket, or a cover that also helps hold it down. The service manual may identify a screw length or show a special bracket that is not obvious from the outside.
Find the exact laptop model and read the manufacturer’s service manual before removing or replacing the SSD. Check the illustrations as well as the parts list. For an M.2 2280 installation, Dell’s Inspiron 16 5625 manual gives one model-specific screw example, while the XPS 17 9720 manual shows a different arrangement involving a thermal bracket.
These examples are useful precisely because they are different. Do not copy a screw dimension from one laptop to another, even when both use M.2 2280 storage. If the manual names a part number, use that model-specific information. If it does not, pause and identify the bracket, standoff, and screw together before proceeding.
How to check a PS5
PS5 installation is a separate case. The console uses its own screw and spacer, and the spacer is moved to the hole that matches the SSD length. The official guide also separates the CFI-1000 family from the CFI-2000 and CFI-7000 families.
Before touching the hardware, identify your console model group and follow PlayStation’s official M.2 SSD installation guide. Confirm where the original screw and spacer are supposed to be, and check that the SSD length matches the position you use.
If the PS5 screw or spacer is missing, do not assume that a PC M.2 screw kit is suitable. This article does not recommend a substitute PS5 screw because the exact console model and official replacement part have not been established here. Use the model-specific official information instead.
When no screw is needed
Before measuring a replacement part, inspect the slot itself. Some motherboards use a tool-free retainer such as ASUS Q-Latch or MSI EZ M.2 Clip. These mechanisms are designed to hold the SSD at the correct length without a conventional retaining screw.
Also check beneath the M.2 heatsink and inside the motherboard accessories bag. A screw may be captive in the heatsink, while a standoff may already be installed in the board. Do not swap a heatsink screw, case screw, or another nearby fastener into the SSD mounting point just because it looks similar.
Tape is not a safe replacement for the intended retainer. The drive must stay seated in the connector and clear any heatsink or cover specified by the device manual. Use the original hardware, the documented bracket, or a replacement part that is confirmed for the exact model.
FAQ about M.2 SSD screws
Does every M.2 2280 SSD use the same screw?
No. 2280 describes the SSD’s 22 mm by 80 mm dimensions. It does not specify the screw, thread pitch, length, standoff, bracket, or fastening method.
Can I use an M2 or M3 screw?
Only when the exact device manual or a confirmed replacement-part specification says that it is suitable. Do not choose between M2 and M3 from the M.2 or 2280 label alone, and do not assume that a thread size guarantees the correct length or head clearance.
Are M.2 screws included with the SSD?
They may be supplied with the motherboard, laptop, expansion card, or console hardware instead. Check the original accessories and the device manual before buying a replacement.
What is the safest next step?
Write down the exact device model, identify the M.2 mounting position, and confirm the retaining method in the official manual. Only after those checks should you identify a replacement screw or bracket. If the device uses a latch or clip, no screw set is needed.
The practical rule is simple: choose the mounting hardware from the device manual, not from “M.2 2280”. That one check prevents the most common mistake: treating an SSD size label as if it were a universal screw standard.
Related Articles
-


- US ANSI vs ISO Hot-Swappable Keyboards in Singapore: What to Check Before You Choose
- Razer Huntsman V3 Pro Low-Profile vs Standard 8KHz in Singapore

- Razer BlackWidow V4 75% in Singapore: US vs Traditional Chinese Layouts
- Canon EF24-70mm vs RF24-70mm: Which f/2.8 Zoom Makes Sense in Singapore?
- BenQ PD2706U vs ASUS ProArt PA279CV: Which 27-inch 4K monitor makes sense in Singapore?
- NIKKOR Z 24-70mm f/2.8 S vs S II: Which Nikon Standard Zoom Makes Sense in Singapore?
- Google Fitbit Air vs Fitbit Inspire 3: Which tracker makes sense in Singapore?
- Keychron V6 Ultra 8K in Singapore: Is a Full-Size Hot-Swap Keyboard Right for You?
- Lost Your Camera Lens Cap? How to Find the Right Size in Singapore
